


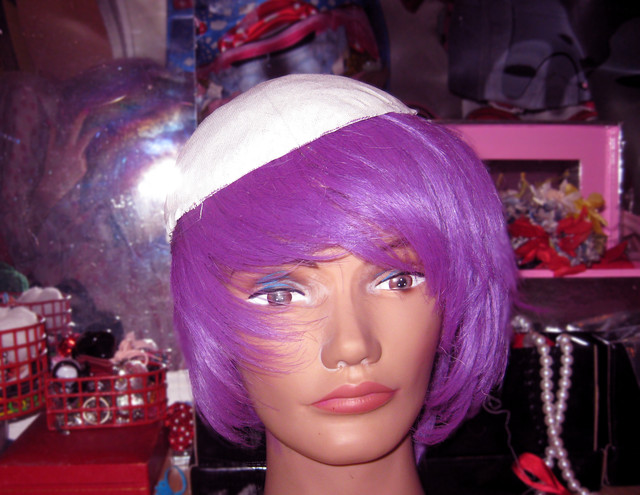
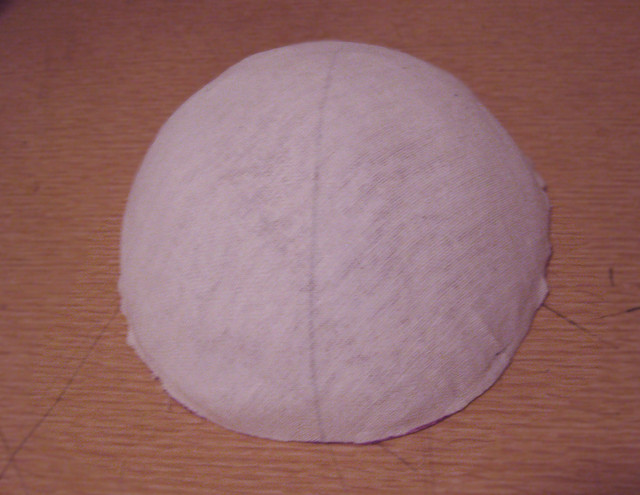
To the naked eye this may look like the plainest hat ever. In a way, this is true. This is my first ever successfully molded buckram hat frame!
If you were to tear apart a fine fabric covered hat (please don't) this is probably what you would find underneath. Buckram is a stiff cheesecloth-like material that becomes pliable and tacky when wet. Because of the loose weave it is easily malleable and because of the gluey coating, it will dry into whatever shape it was molded.
You can mold a buckram foundation for a hat on virtually anything depending on what shape you want your hat to be. However, if a more traditional shape is something you desire, what you may need is a hat block- a mold specifically made for molding hat foundations on to.
A hat block literally speaking is simply a block of wood (shaped like a hat). Sounds simple enough right? THEN WHY IS IT THAT THEY ALL COST UPWARDS OF $200????
I decide to go the DIY route. I had drafted a flat pattern for a hat and already knew the measurements I needed the crown (the part that fits around your head) to be.
I didn't want to start a wood carving hobby on top of millinery so I took a few different routes. Only one worked...
Attempt #1: Spray Foam:
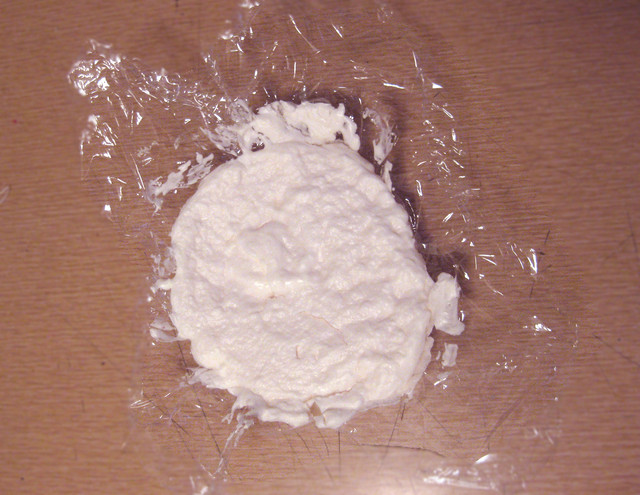
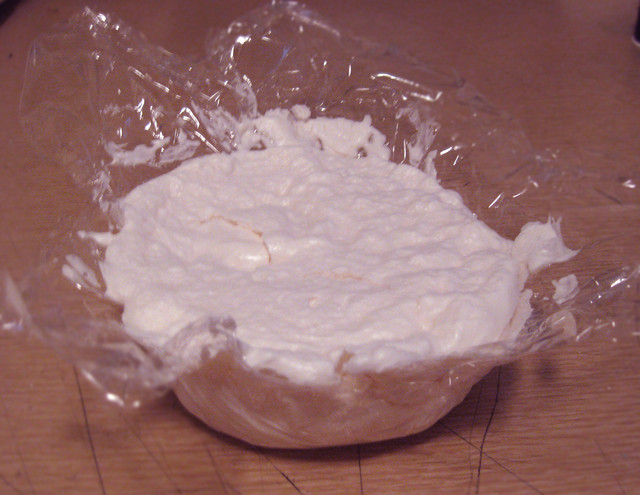
What a disaster. I followed THIS tutorial from Threadbanger. Don't get me wrong, it was a great tutorial. However I bought the wrong foam. I got latex when I should have picked up polyurethane. Actually latex was all my local hardware store had and they assured me the foam would harden when in reality it turned to the consistency of styrofoam peanuts. Crunchy and squishy.
The other problem I had was that I had taken my pattern from a beautiful vintage enamel straw hat that belonged to my mom and I didn't want to fuck up the inside by spraying chemicals into it so I lined the hat with several layers of saran wrap which meant little air could get to the foam inside. 24 hours went by and I was left with a squishy liquidy saran wrap bowl of mush. Anyone want a can of spray foam?
Attempt #2: Plaster of Paris:
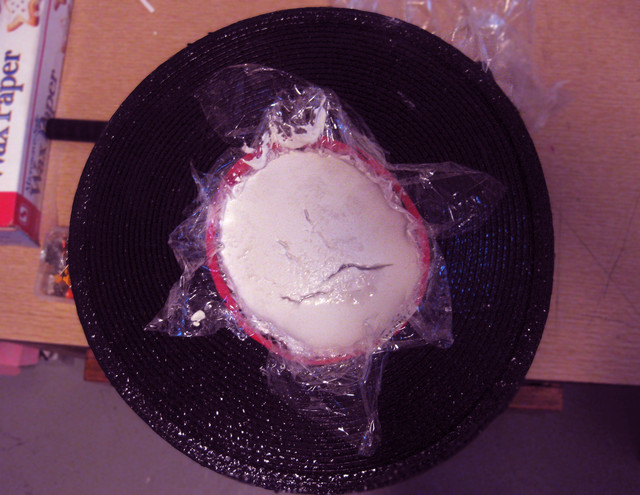
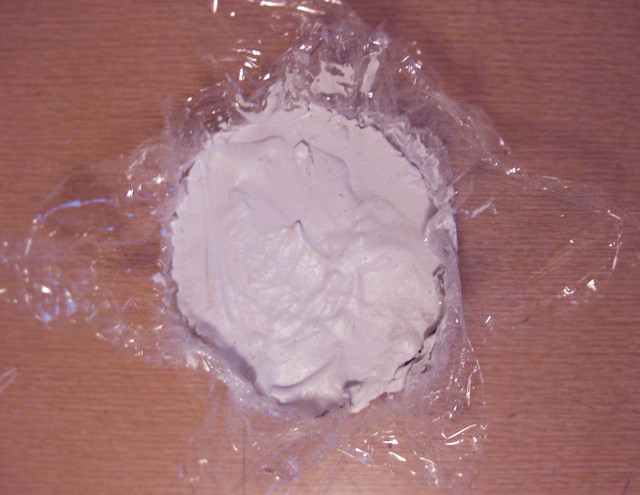
From the start I was a little skeptical about plaster of paris because of how hard it becomes. Wooden hat blocks are generally soft enough that you can stick push pins into them which is super handy when stretching your material. I found mention on a blog of a successful p.o.p. block someone made in the same way that the foam block was intended, by pouring it straight into the crown of a hat.
Again, to avoid ruining the hat I lined with saran wrap and then filled the crown with the liquid plaster. Unfortunately I couldn't fill it as full as I wanted to because the plaster stayed so liquidy for the first 20 or so minutes and I didn't want it to overflow.
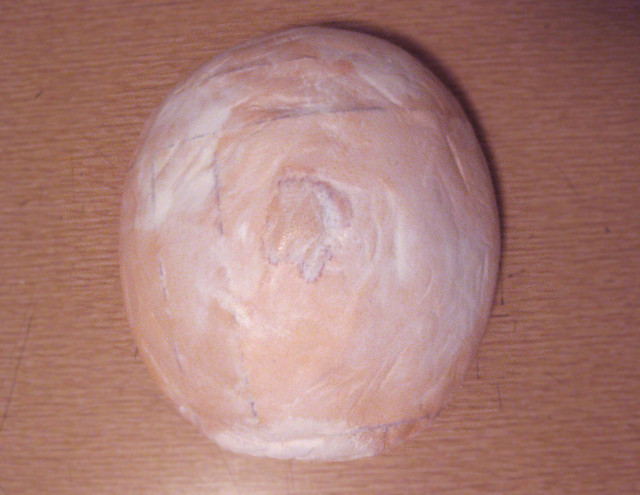
Eventually it did overflow a little and I had to remove the mold prematurely before my hat deformed (water + hats = no good).
I was left with a very heavy but too short cement block that continued to not completely solidify even after the saran wrap was removed. Maybe I poured too much at once. Hmmm...
Attempt #3: Balsa Foam (this one actually worked!!):
I gave up on pouring a block and decided to carve one. I went looking for styrofoam (I can't believe how much they charge for that stuff) and instead found it's tougher and more professional looking companion- balsa foam, a foam made specifically for carving.
It was a little pricey at $8 a sheet and I needed several sheets but I guess it beats $200...
I glued the pieces together into a block with some epoxy and after it dried I literally carved it down with a serrated kitchen knife. It was messy and created a lot of orange dust. It also sanded off parts of my manicure and I got a giant disgusting blister on one of my fingers. I forget I have girl hands sometimes and I end up crippled and blistered after doing hard work with them...
Anyway, I shaved it down to the specified measurement (measuring as I went) making it a bit taller than I planned the crown to be (so there is room to stretch and pin the material down). I filled in any cracks and gaps with gesso and then I sanded the whole thing. I marked a line with my knife all the way around the block indicating where I wanted the actual crown to end. Then I gessoed the whole thing. Then i painted it with a coat of white glue, and finally I coated it in a water resistant acrylic spray (the kind you seal paintings and charcoal with).
The finished result was a very anti-climactic hard foam shape that I can push thumbtacks into but that wont lose its shape under pressure.
And just look at the buckram frame I created on it!
If you express interest in hat making then I recommend trying this method at home for your own cheap custom hat blocks.
As for the hat I blocked this frame for, it's almost finished and I can't wait to share it with you! I also can't wait to begin manufacturing them so you can all own one (and now you know that they will be truly made from scratch!).
Happy blocking!
Categories:
design
Bloody hell - how complex and complicated and messy and fabulous! No wonder beautiful handmade hats are so expensive - look at the detail and drama involved. This is fascinating - thanks for sharing!
Sarah xxx
I know! And I hadn't even wired and covered it yet!
GOOD GAWD what a FANTASTIC new header!!!!
Freaking complicated stuff,hatmaking.Dedication helps!! You just better rock it out when it's finished!! x
Thankyou! I will!
oh brilliant!
Who would have thought it'd be such an endevour? I'm so glad you shared the steps though, I've wanted to make this hat for ages- didn't even consider that I'd need some kind of mould-
http://cf1.polyvoreimg.com/thing.12656630.l.jpg
Dear Stella Rose,
What admirable effort you put forth to create your block. I can suggest a several resources for locating a traditional wooden hat block (reasonably priced) or canvas wig/head form (very inexpensive) which would be sturdy enough for you to block on.
wayne@waynewichernmillinery.com
Very clever, I love balsa wood. Another thing that I think might work would be paper-mache pulp. You can buy it at craft stores or make your own. Simply line the original hat with cling wrap like you did with the plaster but fill it with paper pulp. It will take a while to dry, you could use a fan heater to speed it up in cooler weather or put it in the sun but eventually you will have a sturdy but still soft wood-like structure that you could press pins into. Cheers Susan